Showing posts with label cake. Show all posts

Sunday, January 22, 2012

Chocolate, ricotta and blueberry cake with chocolate-yoghurt icing


I was in Brisbane last week when my boss arrived home from his overseas trip and emailed my office to say there were fancy chocolates in the kitchen for whoever wanted them.  I wanted them! But I was in stupid Brisbane.  So I email-bribed my workmates with the promise of baking, and lo, they saved me some chocolates.  So today I am making good and baking a cake for Monday afternoon. 


Because it is my cake and my decision, the cake had to involve chocolate.  But I didn't want it to be too sweet, nor too dense.  So I looked up cakes with fruit.  I was hoping to find something involving peaches, but then I stumbled upon a recipe involving blueberries and ricotta and my decision was made.  However, the original said to dust with icing sugar, and I knew I could do better than that. So I added a ganache-like icing made with yoghurt for some extra tang.

Ingredients:
  • 2 cups SR flour
  • 1 cup castor sugar
  • 1/4 cup cocoa
  • 250g ricotta
  • 100g butter
  • 1 cup hot water
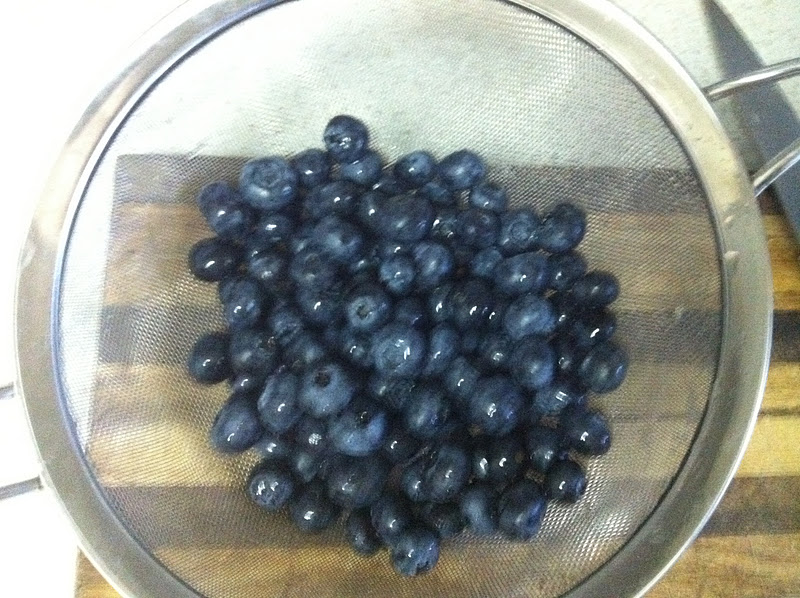
  • 2 punnets blueberries
Chocolate yoghurt icing
  • 1 cup dark cooking chocolate pieces
  • 1/4 cup greek yoghurt

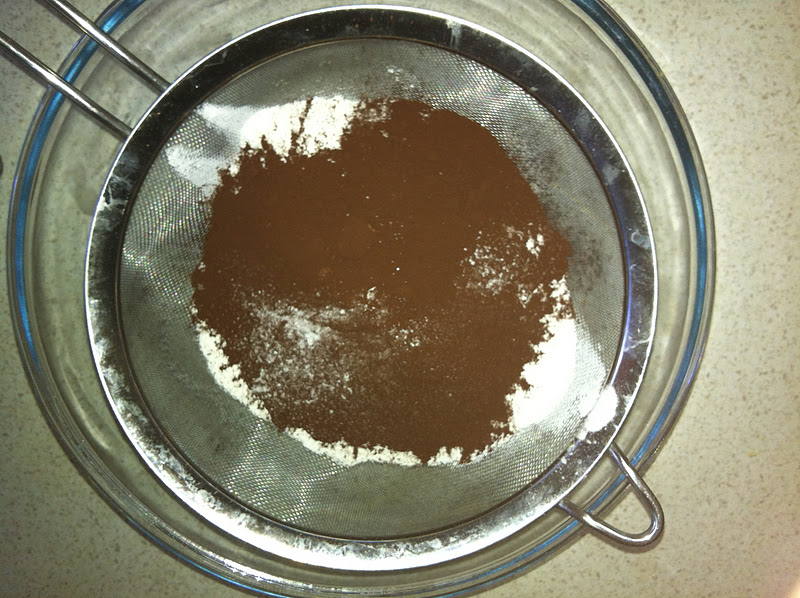
Grease a 22cm cake tin and heat the oven to 160.  Sift your flour, sugar and cocoa into a large bowl.  Melt the butter (I do this in the microwave, being careful not to have it explode) and add with the water and ricotta to the dry ingredients. Stir thoroughly until all ingredients are mixed through, especially the ricotta.  Then fold in one cup of the blueberries, reserving the rest for decorating the finished cake.


Place in the oven for an hour, or until a skewer inserted comes out clean (if your oven isn't fan forced you may want to cook it for an extra 15 to 20 minutes). Once cooked, cool in the pan for 5 minutes then on a rack.


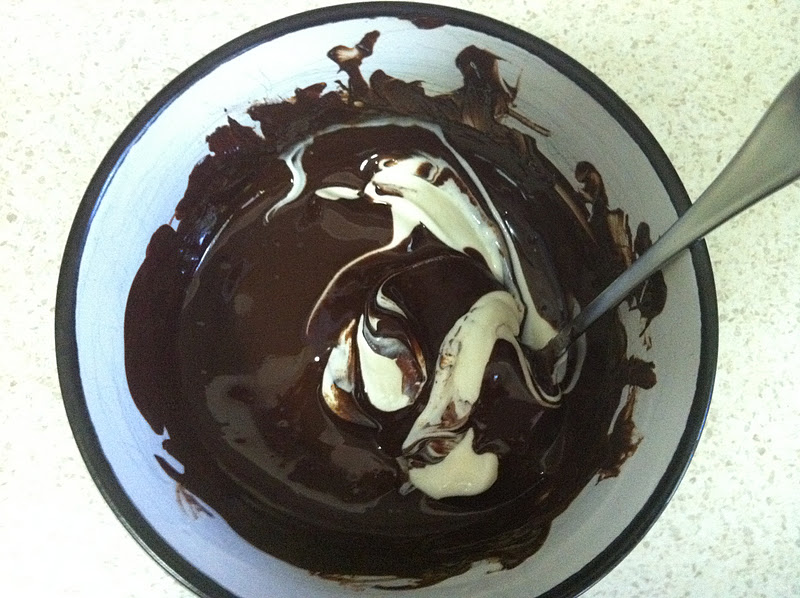
Prepare the icing by melting the chocolate and stirring through the yoghurt.  Smooth over the cake while pliable and glossy, then place in the fridge to set. 


Top with the remaining blueberries to serve.


Very impressive for such an easy cake.


Sunday, November 13, 2011

Black Forest Cake


Remember about a year ago when I said I was going to post a Black Forest Cake and then I didn't do it? I ended up making that cake between midnight and 2am for a function the next day and was so rushed I didn't take photos or anything. I know.  I'm kinda flakey sometimes.  Sorry.


But then it was Mum's birthday yesterday and my brother (very accurately) posited that she would want a Black Forest Cake.  I had already volunteered to make the birthday cake, so I got a second chance!  I used a different recipe this time, taking one from the BBC website.  And wow! Wowowowow.  The thing that made this cake amazing was, in my opinion, the quality of the actual cake.  And the thing that made the cake so amazingly dense and chocolatey was the calibre of the cocoa - proper Dutch cocoa.  I am not usually a massive bowl licker, but this cake mix was so delicious that I scraped it clean with my finger and then my tongue.

So that is my advice to you.  Make this cake with the best cocoa you can find.  Clean your finger and flex your tongue.  You won't be sorry.


Ingredients - for the cake:
  • 340 g unsalted butter
  • 340 g castor sugar
  • 240g self raising flour
  • 100g cocoa
  • 6 eggs
For the filling and icing:
  • 1 tub cream
  • 1 large jar morello cherries in syrup
  • Big splash of Kirsch
  • 100 g dark cooking chocolate

Heat the oven to 170 degrees, and grease and line a 20cm cake tin.  Using the right size tin is important, as you want the cake to have enough height to be able to slice it into layers later on.


With beaters, cream the butter and sugar, then add the eggs one at a time.  Sift the flour and cocoa and using a metal spoon, fold into the mixture.


Scoop into the cake tin.  This mixture is so moussey and thick it will sit in the tin, so take a spatula or knife and spread it evenly into a cakey shape.  THEN LICK EVERYTHING THE COCOA HAS TOUCHED.


Place in the oven.  The original recipe said bake for 35 or 40 minutes, but at 40 minutes my cake was still super wobbly.  I ended up cooking it for just over an hour, and moved the rack to a higher position after about 50 minutes.  Next time, I'll set the timer for 50 minutes and check it every five minutes until it's perfect.  Remove from the oven and cool in the tin for five minutes.  Then continue to cool on a cake rack for another five to 10 minutes.


While the cake is baking prepare the ganache icing.  Pour half the cream into a saucepan and scald until almost boiling.  Then put the chocolate in the cream and take off the heat, stirring continuously until mixed through.  Then put in the fridge to cool.


Next pour out about 3/4 cup of syrup off the cherries into a saucepan and add a generous splash of Kirsch.  I didn't want my cake to taste too boozy so I cooked off a little of the Kirsh for a few minutes. Then put this aside to cool too.


Once the cake is cooled on the rack, slice into thirds.  Then spoon the cherry syrup mixture evenly over the three cake slices.  Then allow the syrup to sink in while you prepare the remaining cream by whipping it with a tablespoon of icing sugar and a few drops of vanilla essence.


Now for the assembly!  Spread half the cream over the base of the cake.  Then take half the cherries, squeeze out any excess juice and spread them over the cream.  Then place the next layer of cake on and repeat the layering.  Once you've placed the top on the cake, press down gently on the whole cake with your hands to firmly set it all together.


Take the chocolate mix from the fridge and stir it up with a knife, then spread this over the cake too.  Finally, grate some remaining cooking chocolate over the ganache, and place the cake in the fridge for the icing to set.


Mum will approve.


Saturday, October 29, 2011

Pavlova roll with an almond crust and strawberry cream


I've failed to post once in this month of October.  I have also failed to cook more than the most perfunctory food to cram in my gob.  I've been having another of those work and study frenzies you see.


But now I'm going to make it up to you with this amazing, decadent, easy-peasy Pavlova roll.  My Mum has always made this for dinner parties and when I was little I thought it was super fancy (and who am I kidding, I still do!).  The recipe for the Pav has come from my Nanna and it is a fail-safe, perfect-every-time kind of a number.


Then there is the deliciousness factor.  The Pavlova is fluffy and moist, the crust is light and crunchy and the berry cream filling is fresh and luscious.  All together it's utterly divine.  I don't know why Pavlova tastes better in a roll.  It just does.

Ingredients:
  • 6 egg whites
  • 225g castor sugar
  • 1/4 teaspoon salt
  • 1 teaspoon vanilla essence
  • 1 teaspoon white vinegar
  • 1 teaspoon cornflour
  • cream
  • table spoon of icing sugar
  • strawberries
  • 1 cup flaked almonds


 Heat the oven to 180 degrees and turn it down to about 160 when you put the pavlova in. Line a wide, shallow baking dish - like a swiss roll tin - with baking paper.

Beat the egg whites with the salt until soft peaks form, and add the sugar, beating until stiff and dissolved.  With a large spoon, gently fold in the vanilla, vinegar and cornflour*.  Pour into your tray and smooth out the surface so that it's more or less even.  Then scatter the flaked almonds over the top.


 Put in the oven for about 30 minutes (check regularly to see the top doesn't burn).  Remove immediately and turn onto a clean tea towel.  Roll up in the tea towel and leave it to cool.  Ideally it will roll around itself like a Swiss roll, but my Pav was so successful and fluffy that the most I could manage was a tiny amount of overlap. 


When you're ready to serve it, whip your cream with an extra spoon of icing sugar and a drop of vanilla.  Slice your strawberries very fine.  Unroll the Pavlova (it may crack a little - this is okay as you can patch it up when we roll it again) and line with the strawberries, then the cream.  Roll back up gently and place on a serving tray with extra strawberries.  Voila!


When serving, cut it into inch-wide slices. This is one of those dishes that is astoundingly easy but never fails to impress.  And I've never met anyone who didn't love it!  Pavlova: it's better in a roll.


*To make a regular round Pavlova, spread the mixture into a circle and make the edges a little higher, on a lined tray.  Bake for 30 minutes but leave to cool in the oven before removing it.